Table of Contents
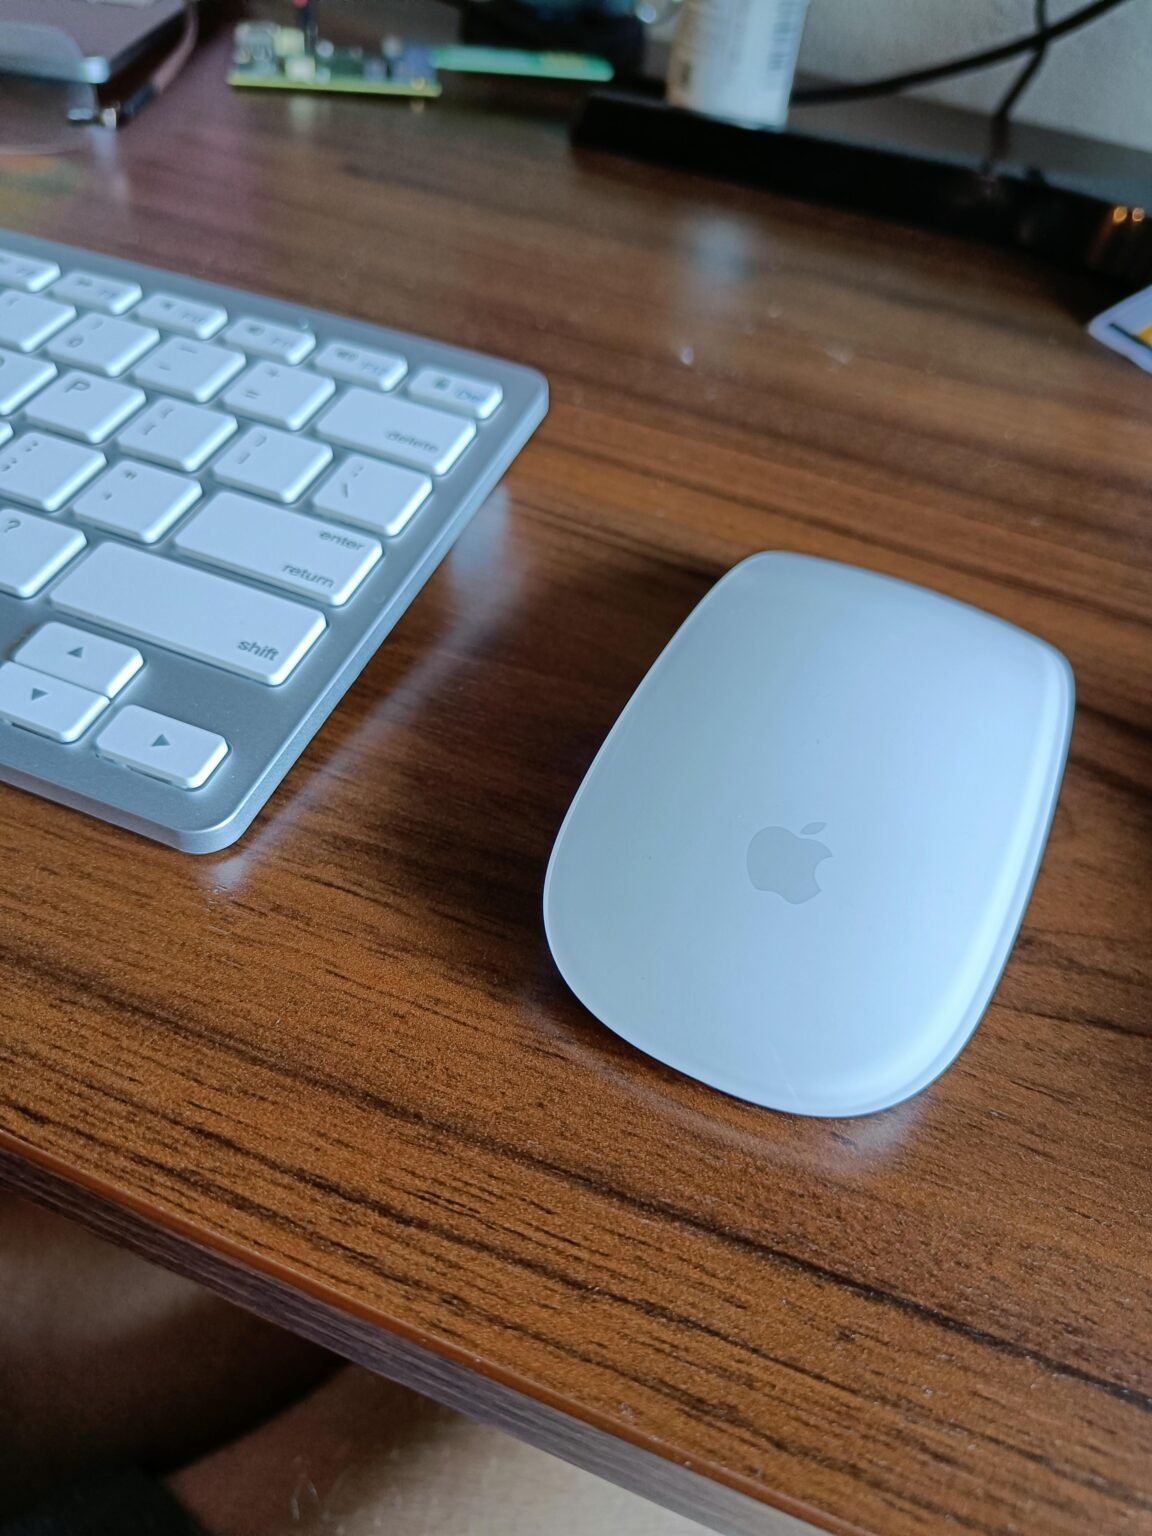
ToggleThe Apple Magic Mouse is a sleek and highly functional accessory that enhances the Mac experience. With its multi-touch surface and seamless design, it allows for intuitive navigation and user interaction. For those new to Apple products, setting up the Magic Mouse is a straightforward process, ensuring that even beginners can enjoy its features quickly and easily. In this guide, we outline the essential steps for a beginner setup of the Apple Magic Mouse.
Step 1: Power On the Magic Mouse
Locating the On/Off Switch
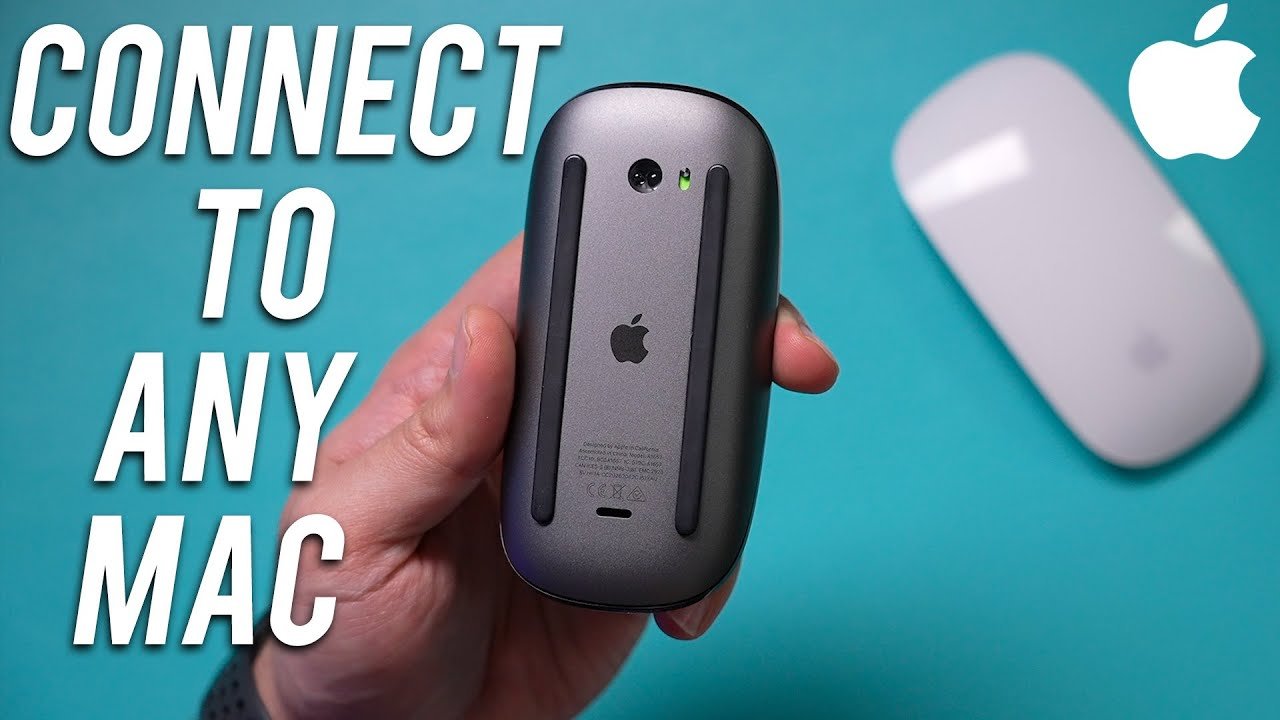
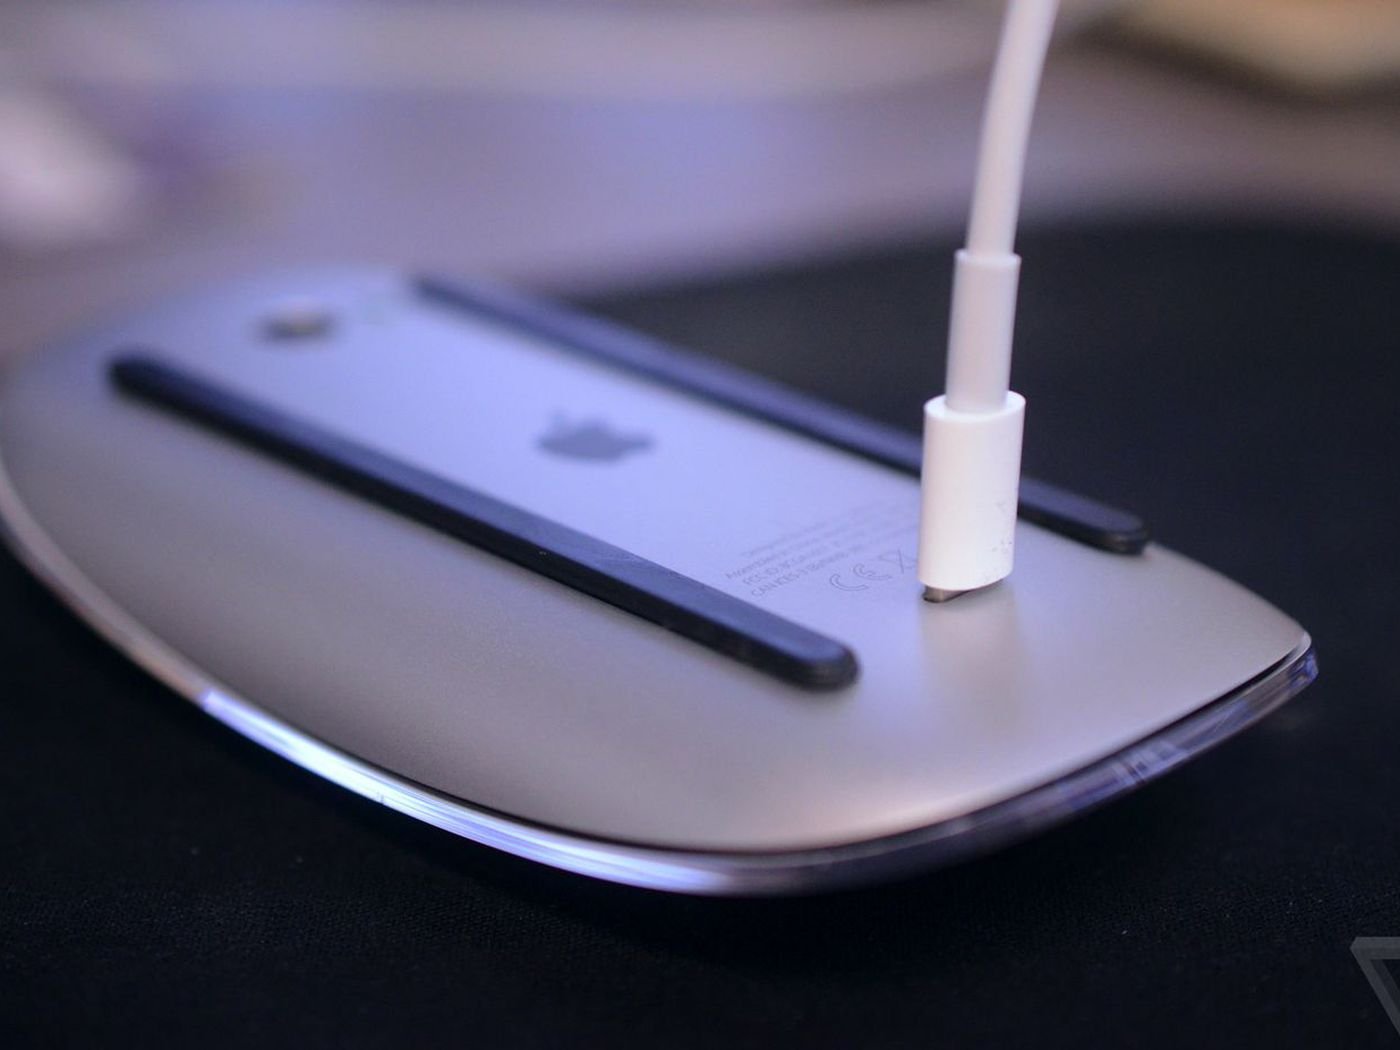
To start, it is crucial to power on your Apple Magic Mouse. The on/off switch is conveniently located on the bottom of the mouse. For the original Magic Mouse, slide the switch until you see the green indicator. For Magic Mouse 2, there is no LED light to confirm it’s on, but moving the switch will activate the mouse.
Step 2: Ensure Bluetooth is Enabled on Your Mac
Checking Bluetooth Settings
Before pairing your Magic Mouse, ensure that Bluetooth is enabled on your Mac. To do this:
- Click on the Apple menu in the upper-left corner of your screen.
- Select System Settings (or System Preferences if using an older version of macOS).
- Click on Bluetooth and make sure that Bluetooth is turned on and your Mac is discoverable.
Enabling Bluetooth is essential for a successful connection between your Mac and the Magic Mouse.
Step 3: Pairing the Magic Mouse via Bluetooth
Connecting the Mouse
Once Bluetooth is active, your Magic Mouse should appear in the list of available devices. Follow these steps to connect:
- Locate the entry for your Magic Mouse in the list.
- Click Connect next to the Magic Mouse name.
If your Magic Mouse was included with a new Mac, it should pair automatically when powered on. For any issues with pairing, ensure that the mouse is not already connected to another device, and try again if necessary.
Alternative Method: Pair Using a Wired Connection
If Bluetooth pairing does not work, you can also connect the Magic Mouse using a Lightning cable. Choose either a USB-C to Lightning cable or a Lightning to USB cable to link the mouse to your Mac. This method not only pairs the mouse but also charges it at the same time. The connection process is automatic once the cable is connected.
Step 4: Customize Your Magic Mouse Settings
Accessing Mouse Settings
After successfully pairing your Magic Mouse, you can customize its settings for an improved user experience:
- Go to the Apple menu again.
- Select System Settings (or System Preferences).
- Click on Mouse to access various settings.
Adjusting Key Features
Within the Mouse settings, you will find options to configure the following:
- Tracking Speed: Adjust the movement speed of the cursor across the screen.
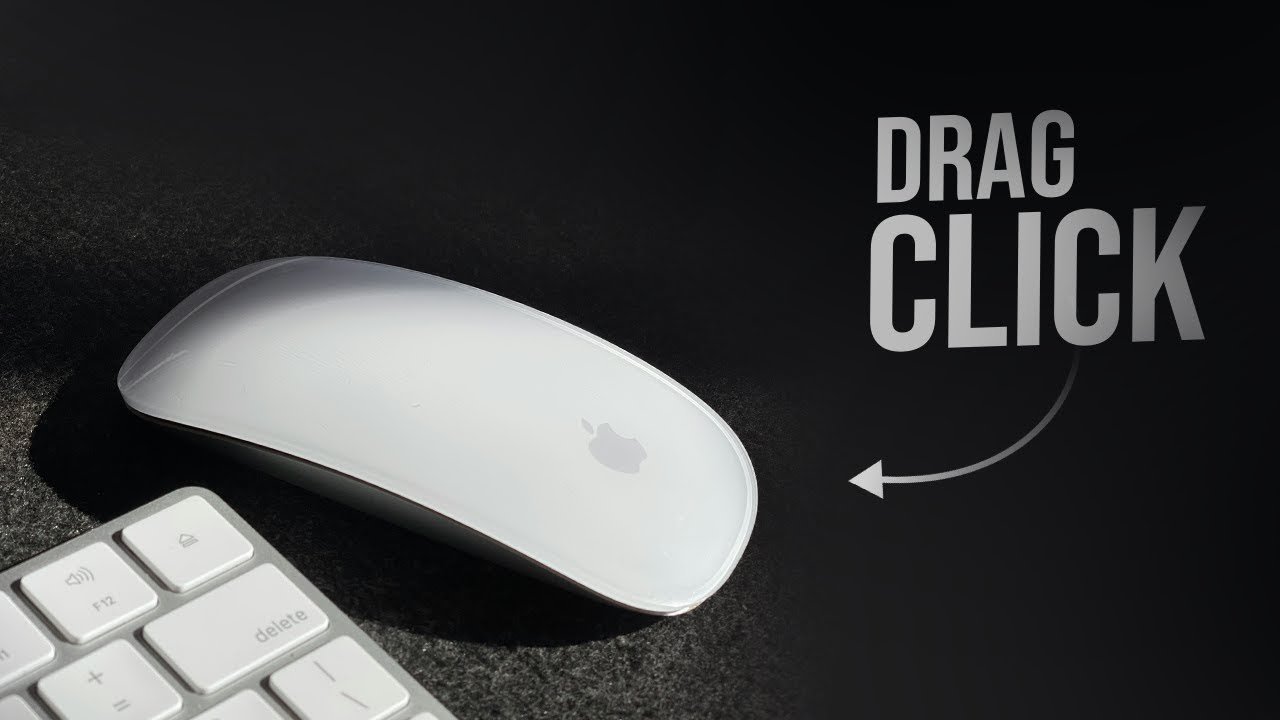
- Secondary Click: Enable right-click functionality by choosing either the right edge of the mouse or an alternative option.
- Gestures: Customize gesture controls, including scrolling with one finger, swiping between pages, and accessing Mission Control.
Additional Tips for Magic Mouse Users
Maintaining Battery Life
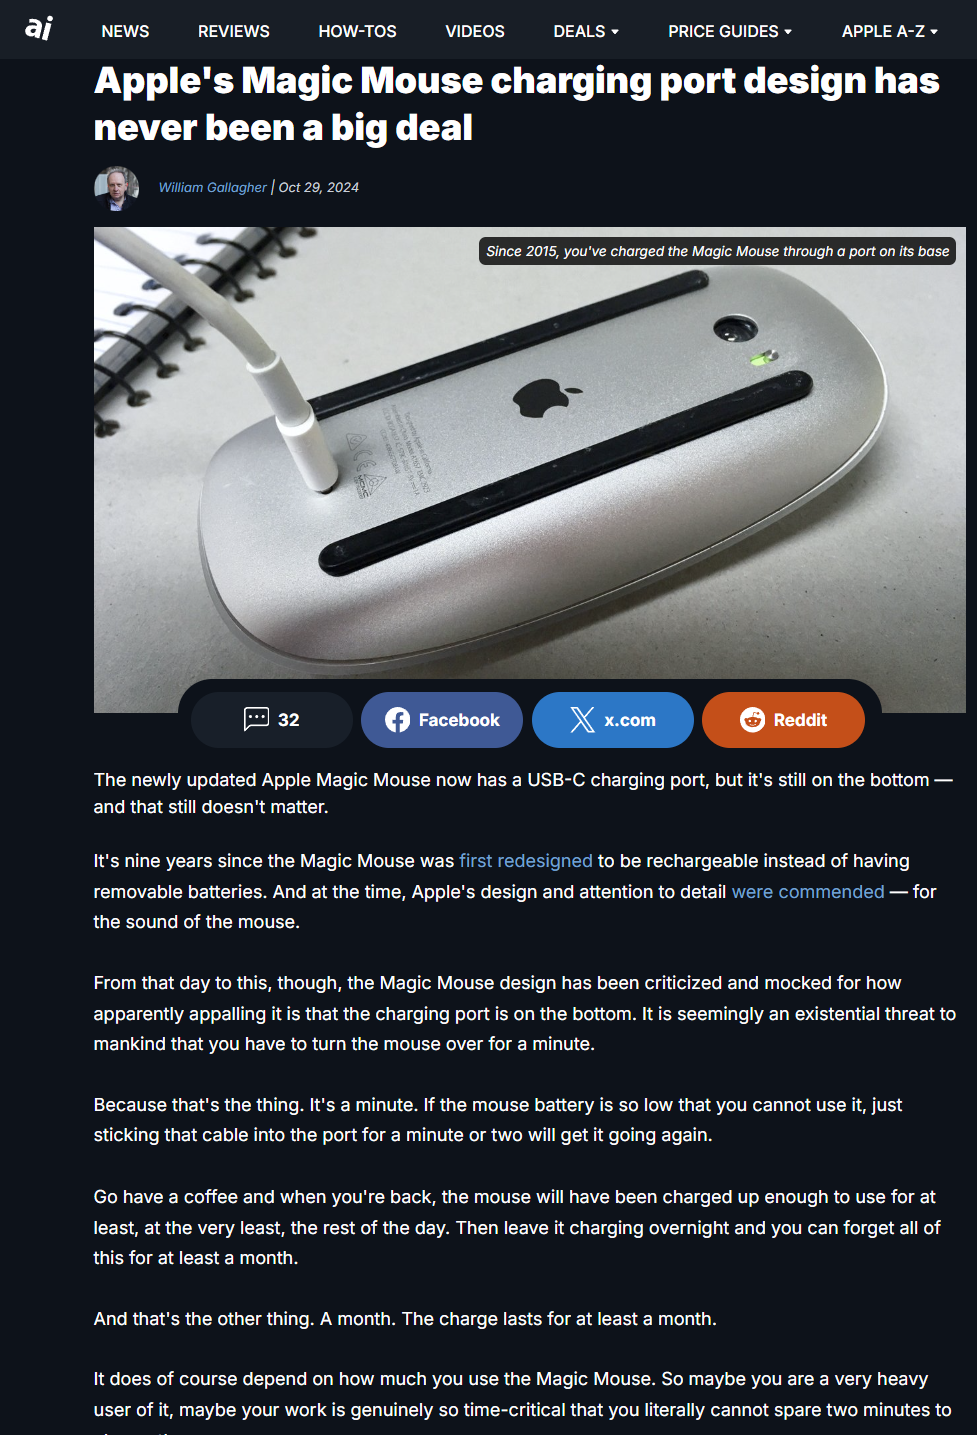
To ensure uninterrupted use, it is important to keep your Magic Mouse charged. The Lightning port located on the bottom of the mouse is used for charging, and it is recommended to charge it regularly.
Enhancing Comfort and Ergonomics
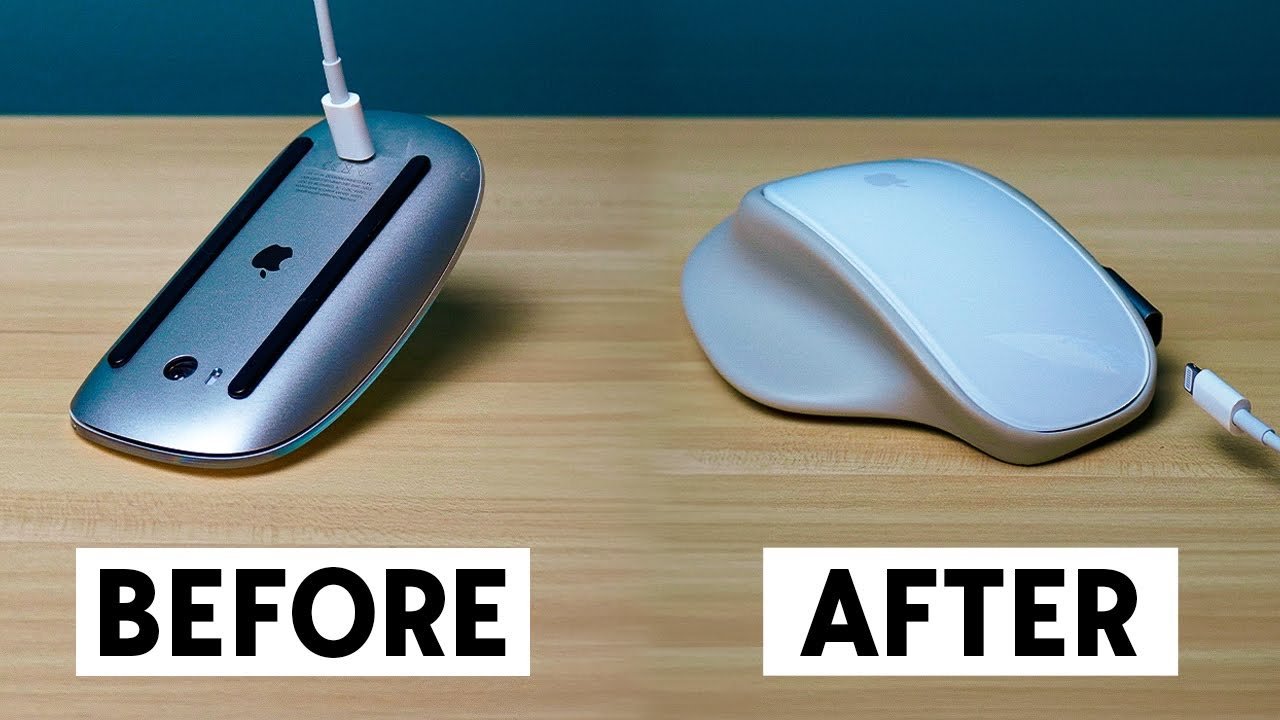
If you plan on using your Magic Mouse for extended periods, consider ergonomic accessories such as the Solumics Case. This case can enhance grip and reduce fatigue during long usage sessions.
Troubleshooting Connection Issues
If you encounter difficulties connecting your Magic Mouse, check that it is not connected to another nearby Mac. If problems persist, you may need to forget the device on any other Mac paired with it and attempt to re-pair.
Summary of the Setup Process
Setting up the Apple Magic Mouse is a simple and straightforward affair. To recap:
- Power on the Magic Mouse by sliding the on/off switch to reveal the green indicator.
- Ensure Bluetooth is enabled on your Mac for successful pairing.
- Pair the mouse via Bluetooth, or use a Lightning cable as an alternative connection method.
- Customize various settings in System Settings to enhance the user experience.
- Keep the mouse charged and consider ergonomic accessories for added comfort.
Final Thoughts
After following this guide, you can confidently set up your Apple Magic Mouse and explore its features. Should you have any questions or need assistance as you navigate the process, feel free to leave your queries in the comments below, and I’ll be happy to help!
Join the Conversation
Have you recently set up your Magic Mouse? Share your experiences or any tips you have in the comments section! And don’t forget to subscribe to my newsletter for more insightful tips and tutorials related to Apple products.
For more similar news, be sure to check out my blog. FROZENLEAVES NEWS.
“`
